The intention here is to brief the steps required to build seamless connectivity between Pega PE 8.* with IBM MQ’s available latest developer edition.
In this blog, let’s try to understand the configuration steps required to build this connection & try with a sample scenario.
Follow the below steps
- Getting Prerequisites Done
- Pega MQ Server
- Pega MQ Listener
- Pega MQ Service
- Sample Business Logic – Example
Getting Prerequisites Fullfilled
Follow IBM MQ and download the latest MQ developer version. You can either install using the wizard or by command prompt.
Run the below command if you choose to install using cmd.
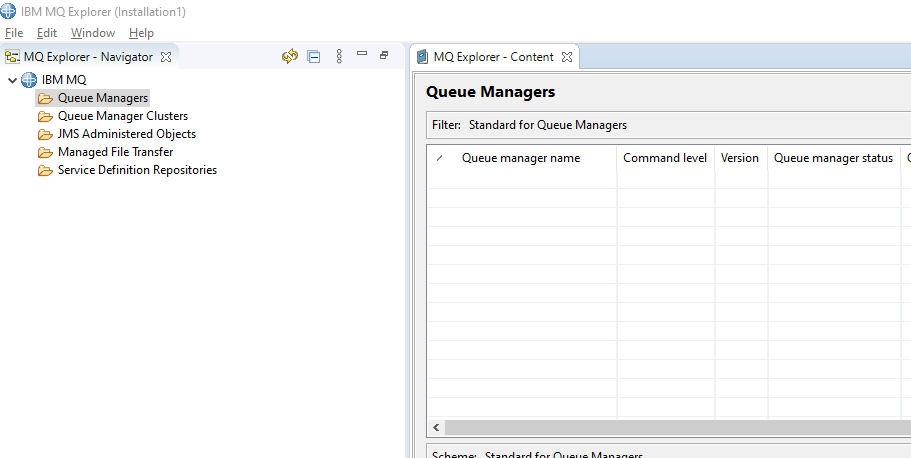
start /wait msiexec /i "C:\Users\username\Downloads\mqadv_dev914_windows\MQServer\MSI\IBM MQ.msi" /l*v "C:\Users\username\install.log" /q RESPONSE="C:\Users\username\Downloads\mqadv_dev913_windows\MQServer\Response.ini" TRANSFORMS="1033.mst" AGREETOLICENSE="yes" ADDLOCAL="Server"Once installed, you see IBM MQ explorer as shown below.
Here we will consider ‘P2P – Point to Point Messaging’ for which we need to have a Queue. In order to do that, you need to have a Queue Manager which maintains these queues. Lets create a sample Queue Manager. Open your console back and execute the below command from the installation bin folder.
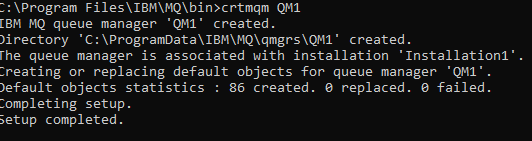
crtmqm QM1
You should see as below.
Start the create Queue Manager, QM1 with below command.
strmqm QM1
It should look like below.

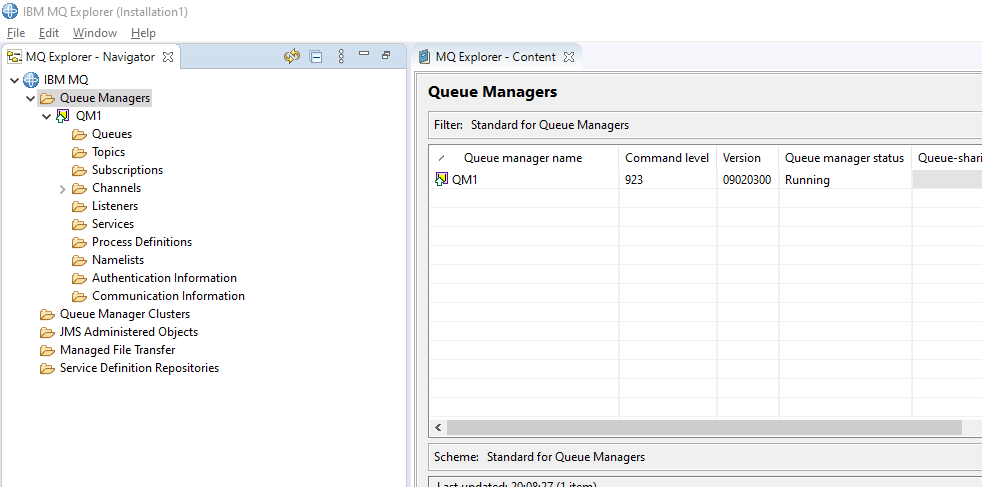
If you refresh your IBM MQ explorer (window mode) then you should observe like below.
Now you have base software ready & prerequisites done. Now you can create a sample Queue and Channel (to get connected to the queue from the client application, Pega)
To do that, there is already preconfigured script which creates few default queues and channels for us. Execute the below commands to download the script file & execute.
curl -o mq-dev-config.mqsc https://raw.githubusercontent.com/ibm-messaging/mq-dev-samples/master/gettingStarted/mqsc/mq-dev-config.mqsc


runmqsc QM1<"mq-dev-config.mqsc"
You should see as below.
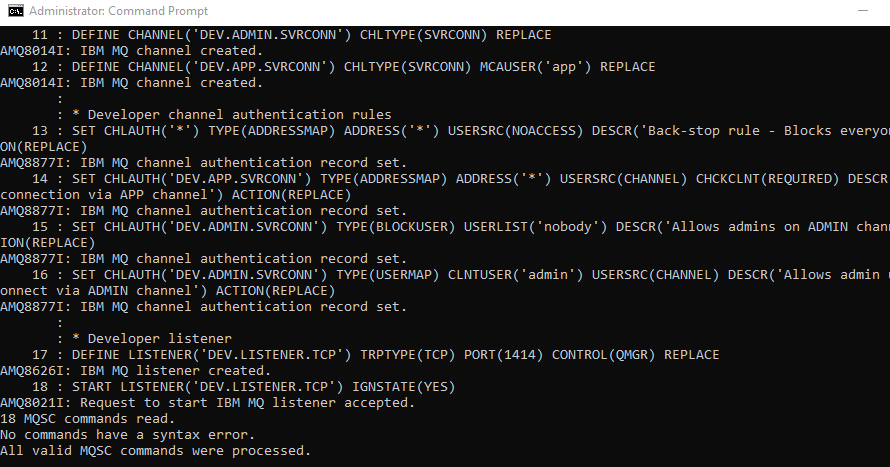
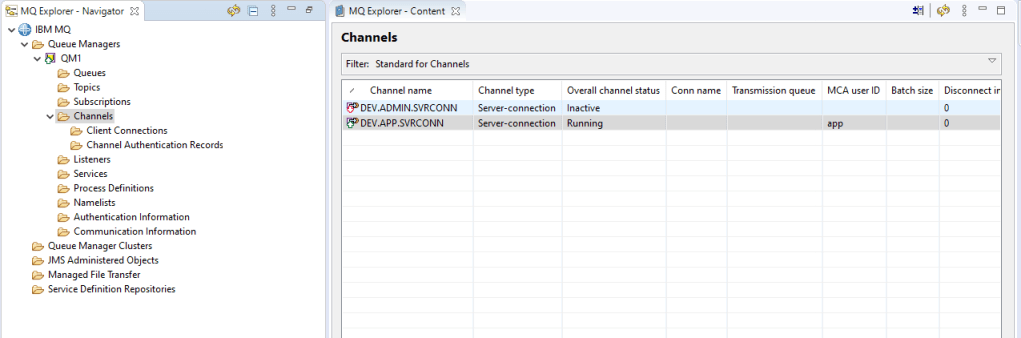
If you look at IBMMQ explorer, you should be seeing default Queues & Channels which got created with the above automated scripts. We can also create manually using IBM MQ explorer but Its good to always use something which is already present.

As by default the installed IBM QM uses your operating system users to get connected to, do create a sample user as per the above script.
In your Windows Computer Management tool, under Local Users and Groups,
- Create a Windows group
mqclient - Create a Windows user
appwho is the member of themqclientgroup. Set the password topassw0rd. The user will change this password the next time they log on.
You can then add authority to the mqclient group so its members can connect to the queue manager and put and get messages to and from a queue.
Run below commands to provide required authentications.
setmqaut -m QM1 -t qmgr -g mqclient +connect +inq

setmqaut -m QM1 -n DEV.** -t queue -g mqclient +put +get +browse +inq
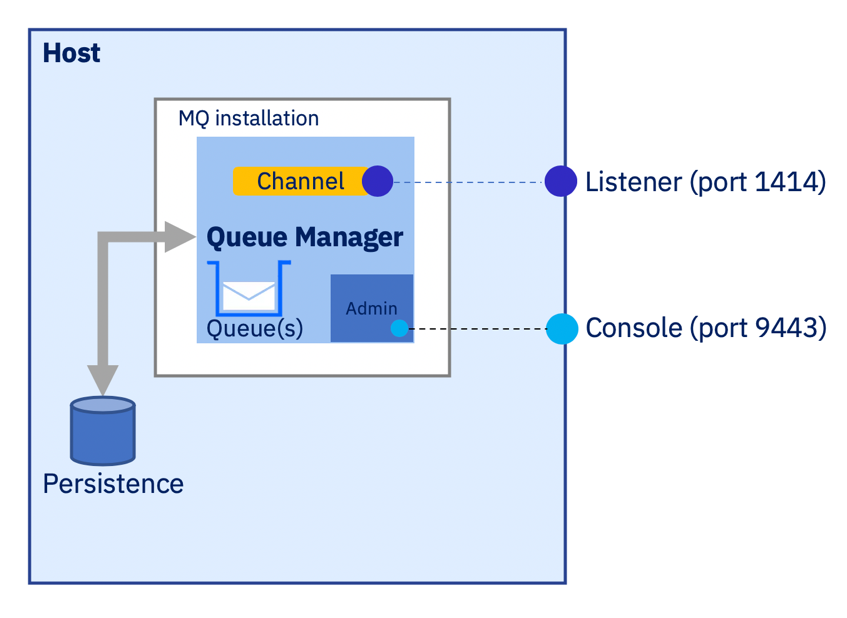
So far what we have done is as per below.
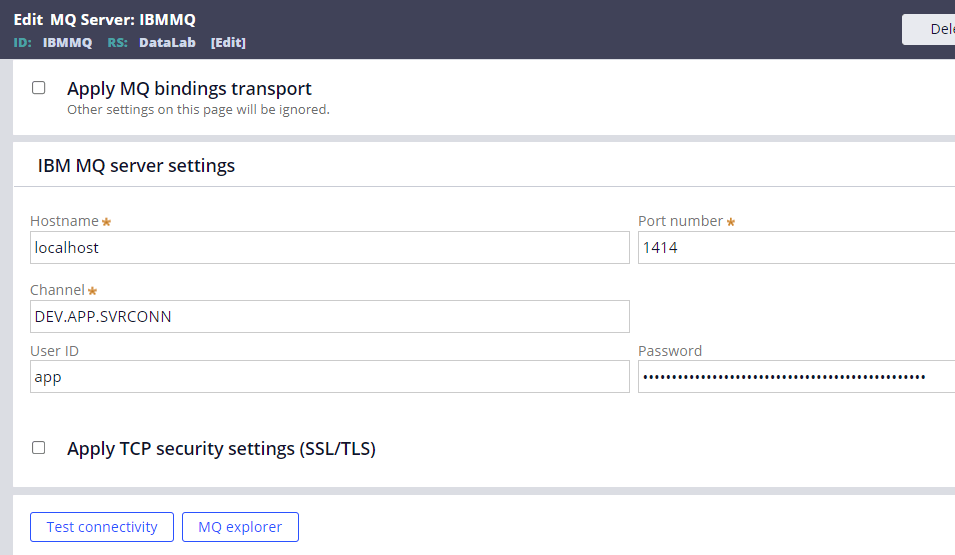
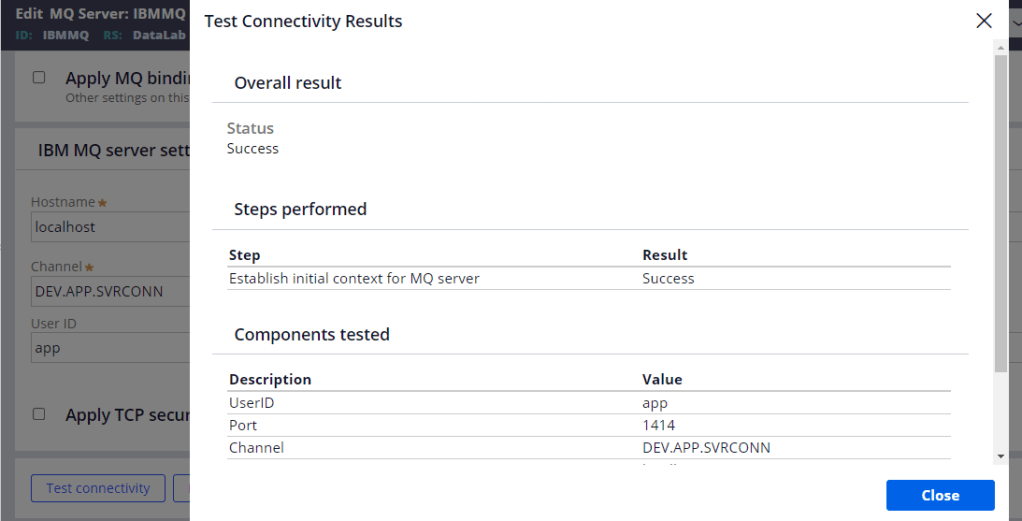
Pega MQ Server
Go to Pega Designer Studio -> Records -> Integration Resources -> MQ Server to create an instance.
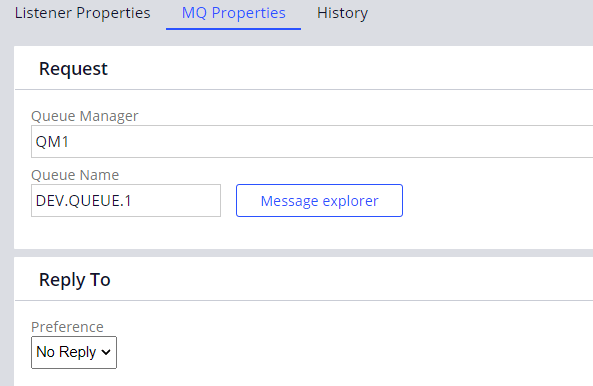
Pega MQ LISTENER
Go to Pega Designer Studio -> Records -> Integration Resources -> MQ Listener to create an instance

Give corresponding Queue & Manager details.
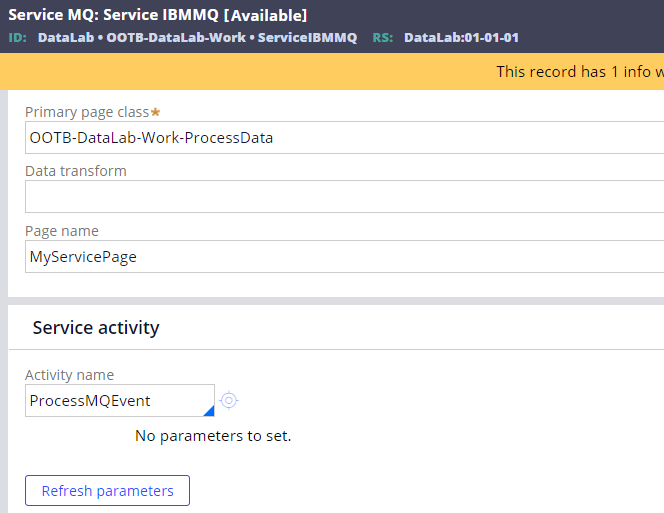
Pega Service MQ
Go to Pega Designer Studio -> Records -> Integration Services -> Service MQ to create an instance
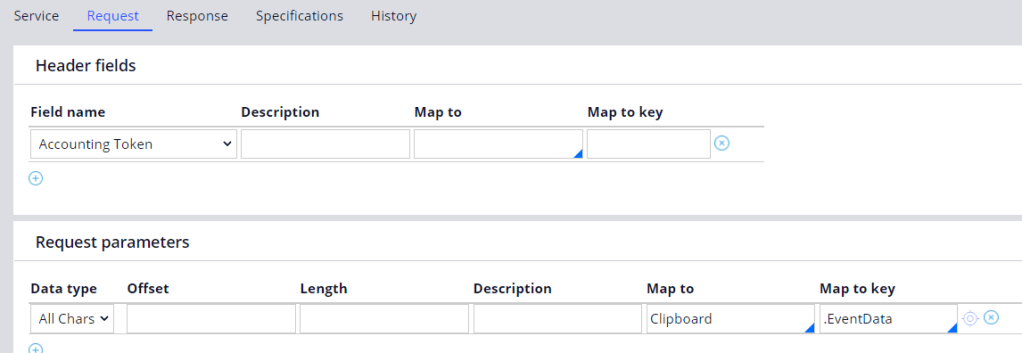
Map Request & Response Data
Sample Business Logic – Example
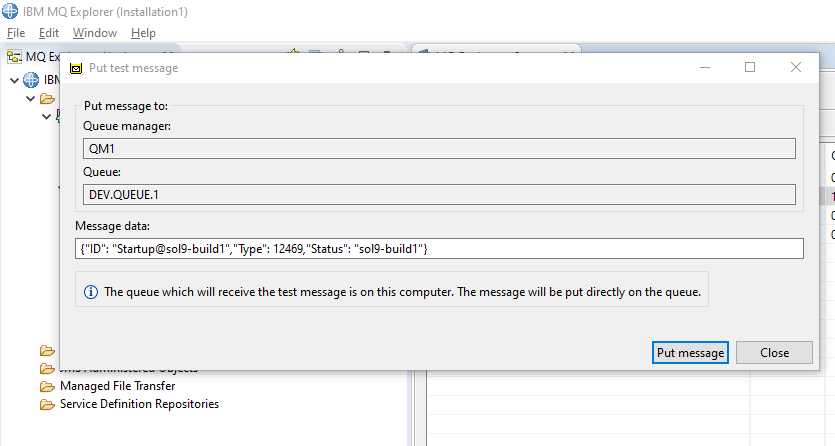
Let’s try to put a message from IBM MQ explorer by Put Message option on the desired Queue & trace the same by Pega listener.
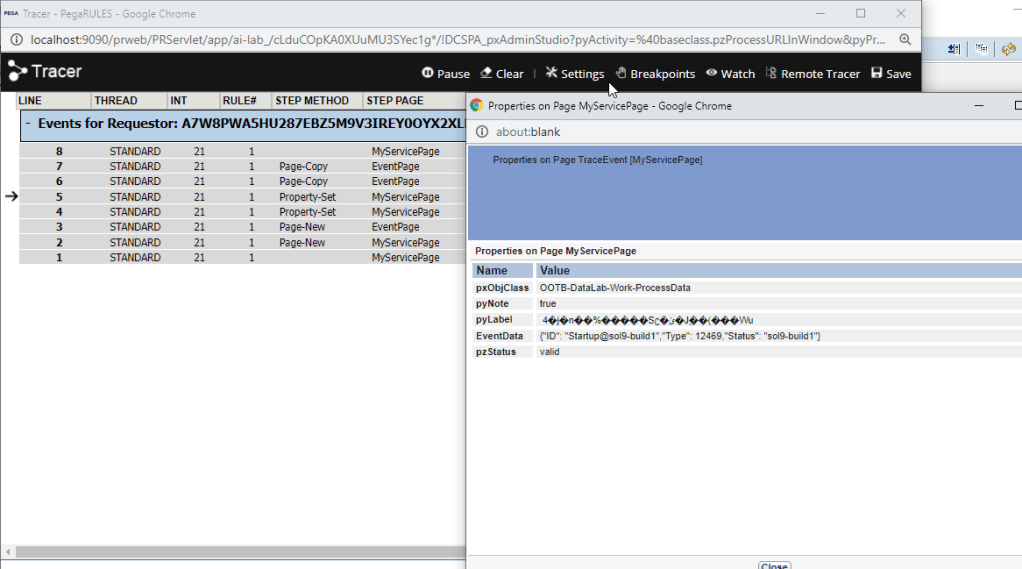
Pega tracer to observe the message
Hope you can try on your PE if you haven’t worked by these brief simple steps.
Keep sharing what you know! Help the community better!!